|
Main
Screenshot
|
  |
|
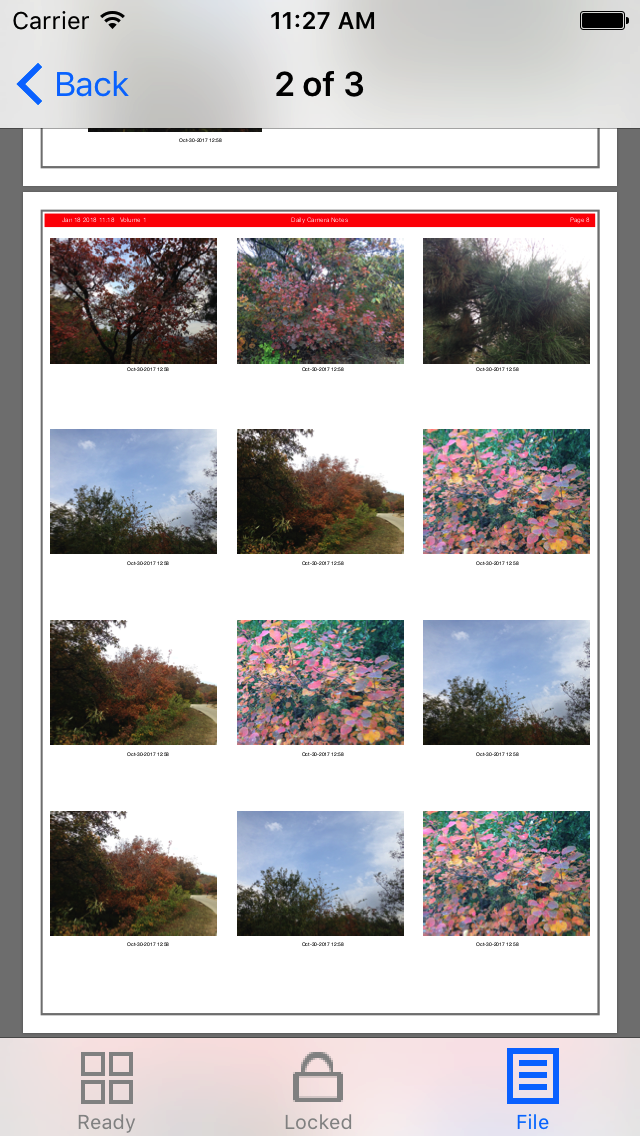
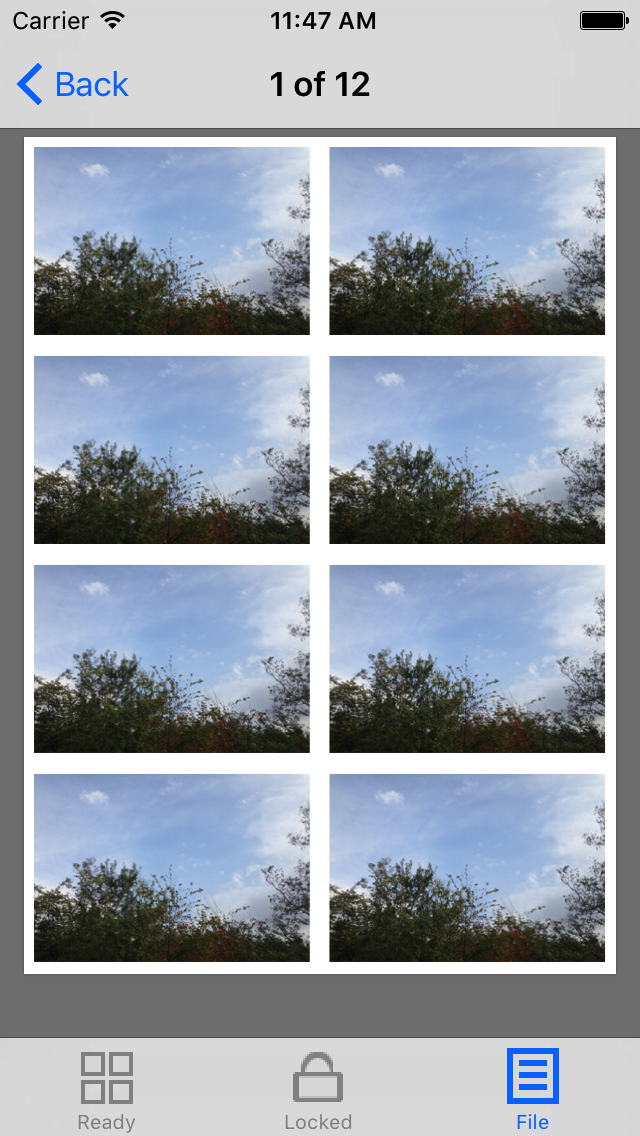
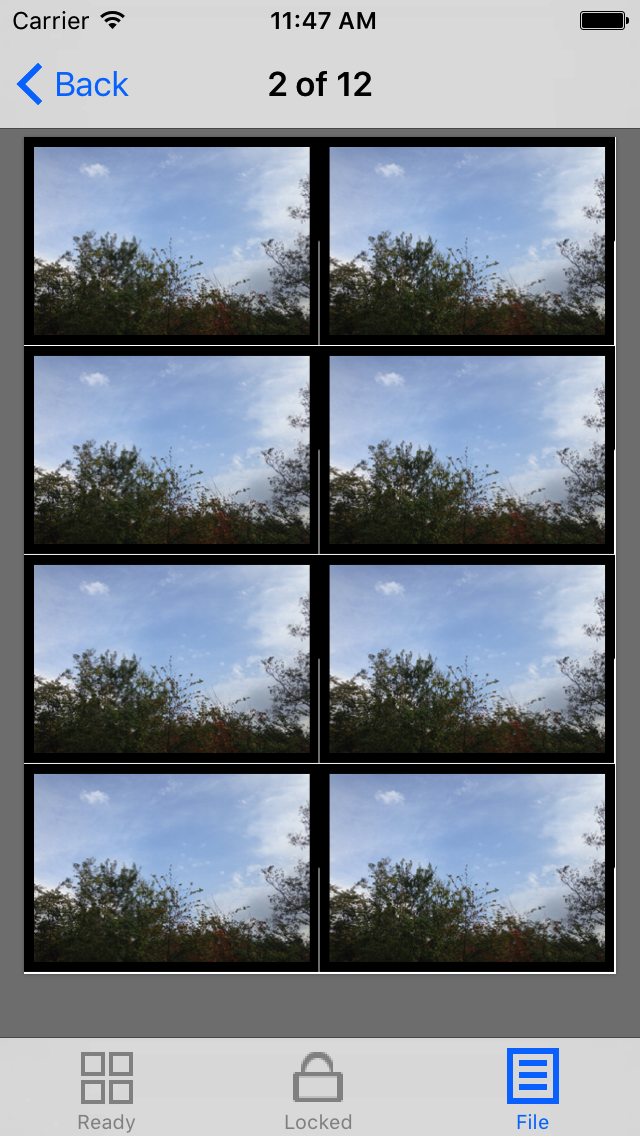
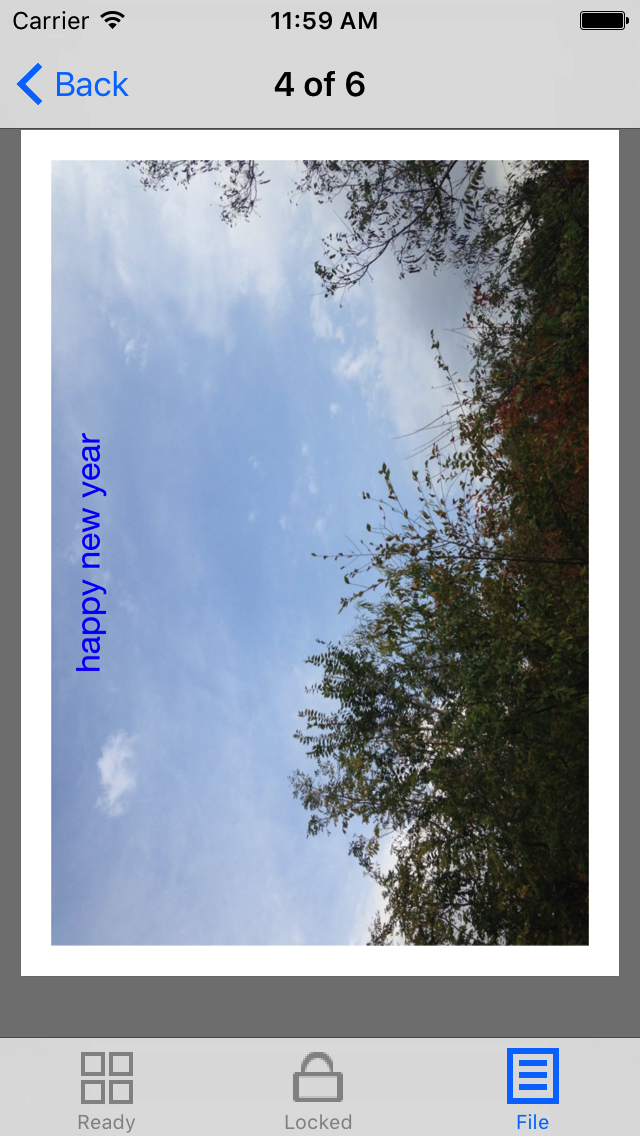
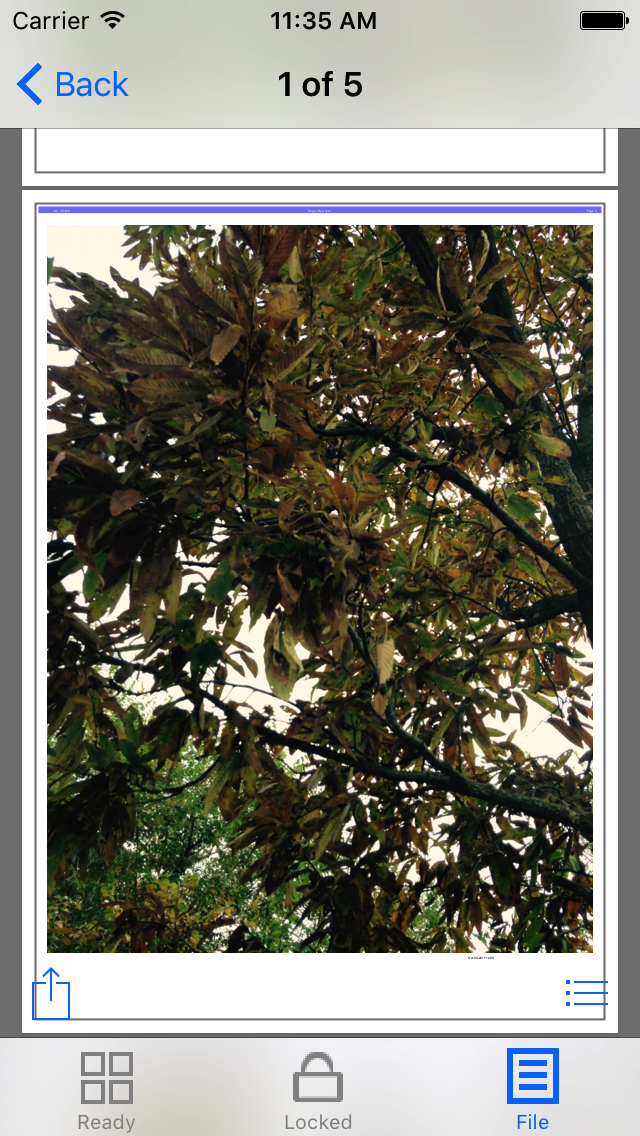
Photographic
Journal Screenshot
|
 |
| |
 |
| |
|
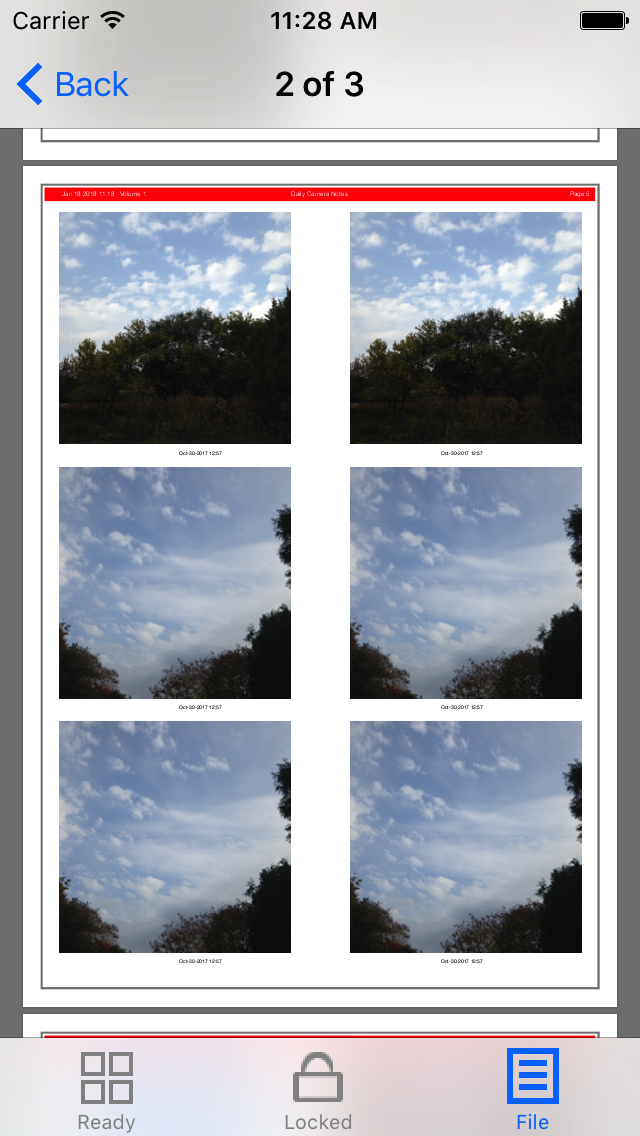
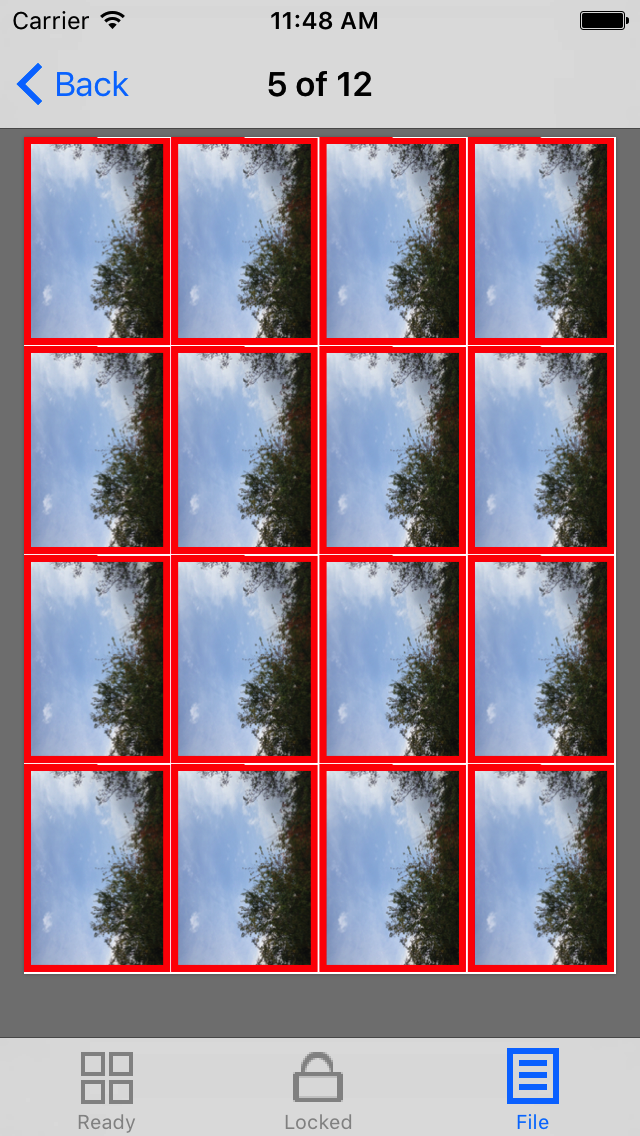
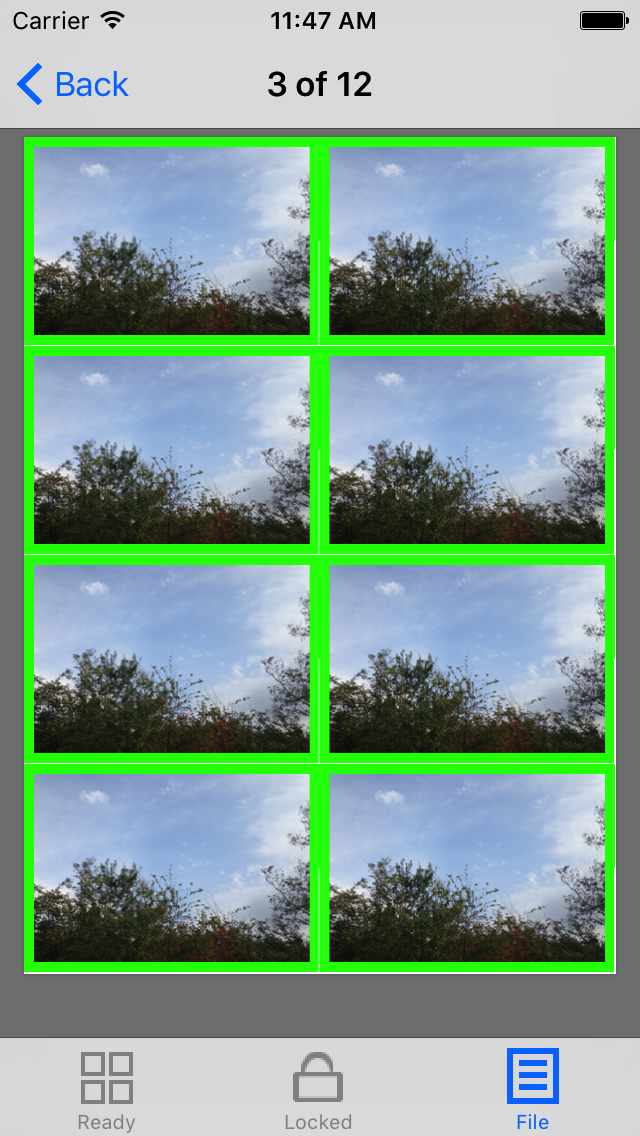
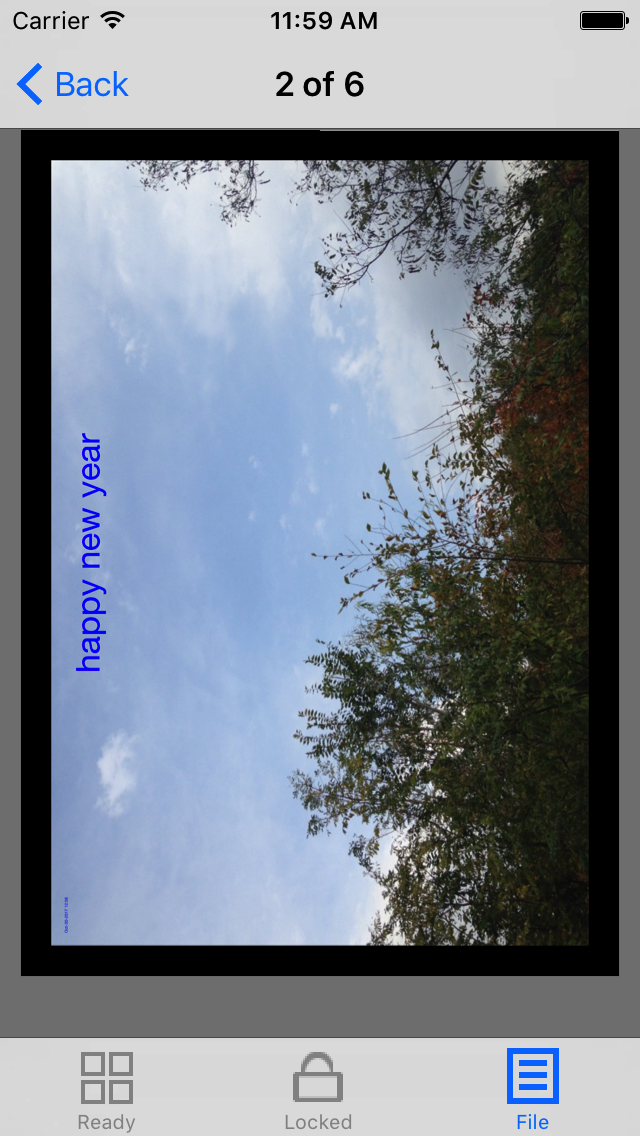
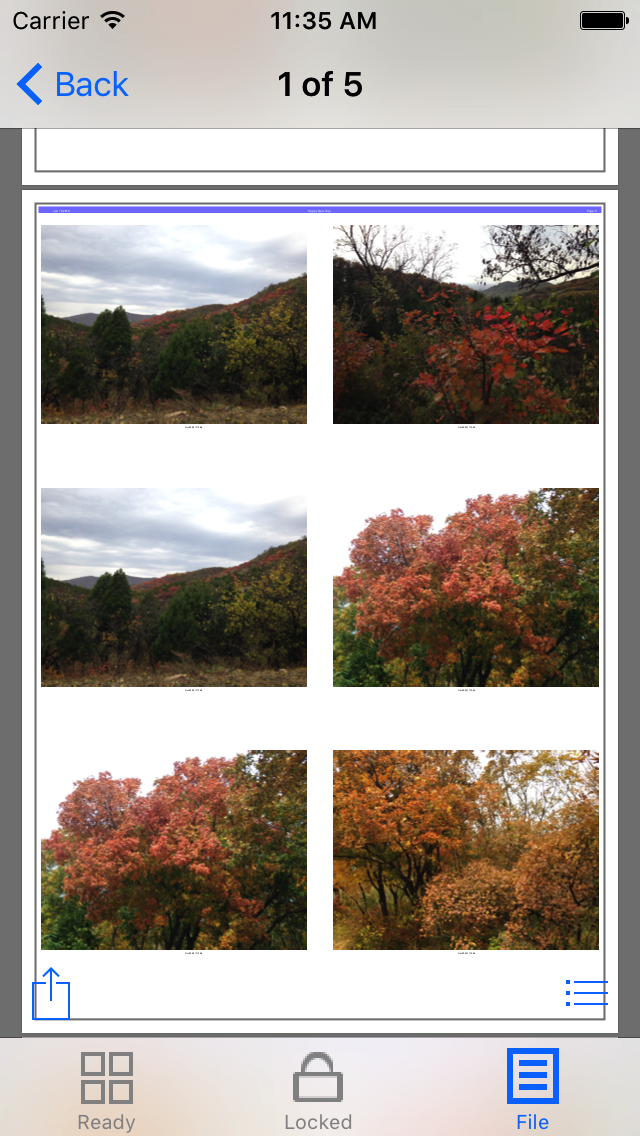
Photographic
Card Screenshot
|
 |
| |
 |
| |
|
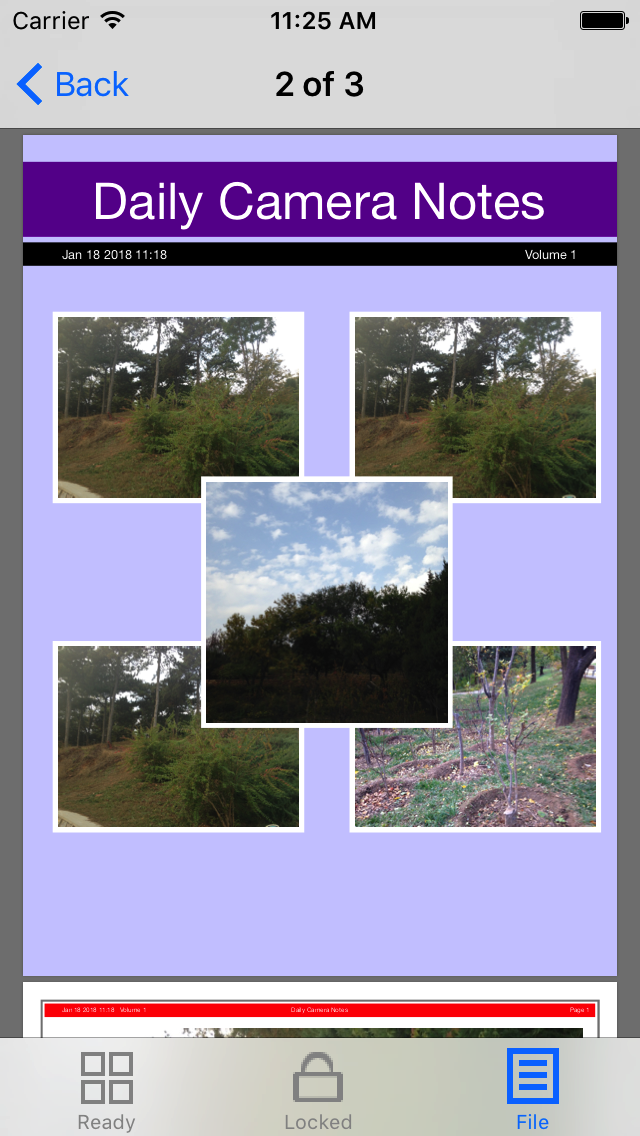
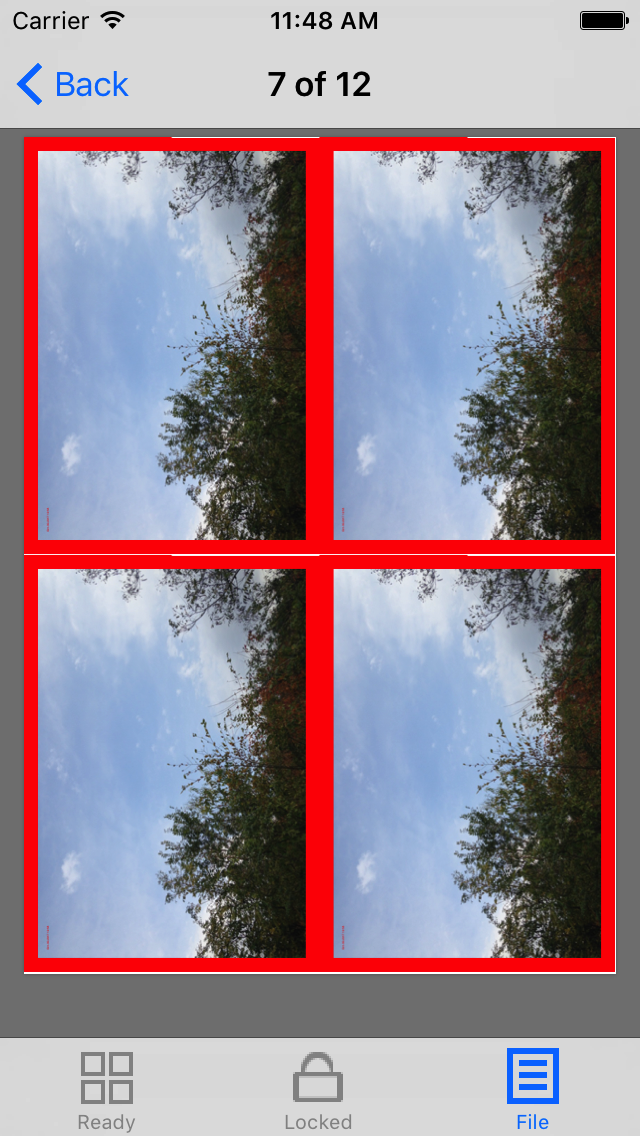
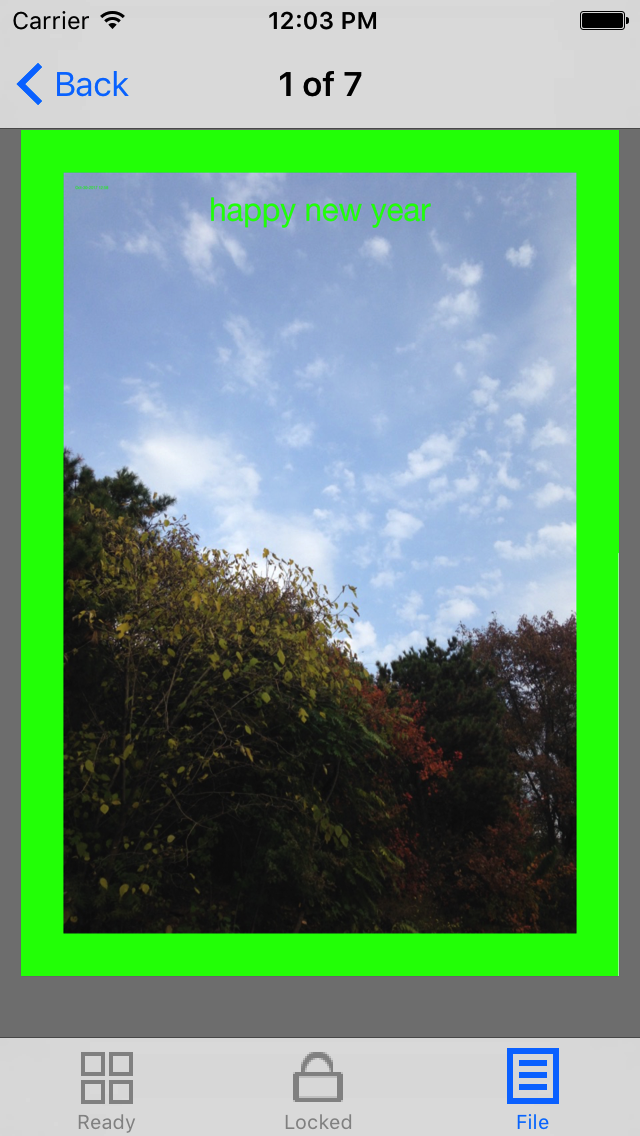
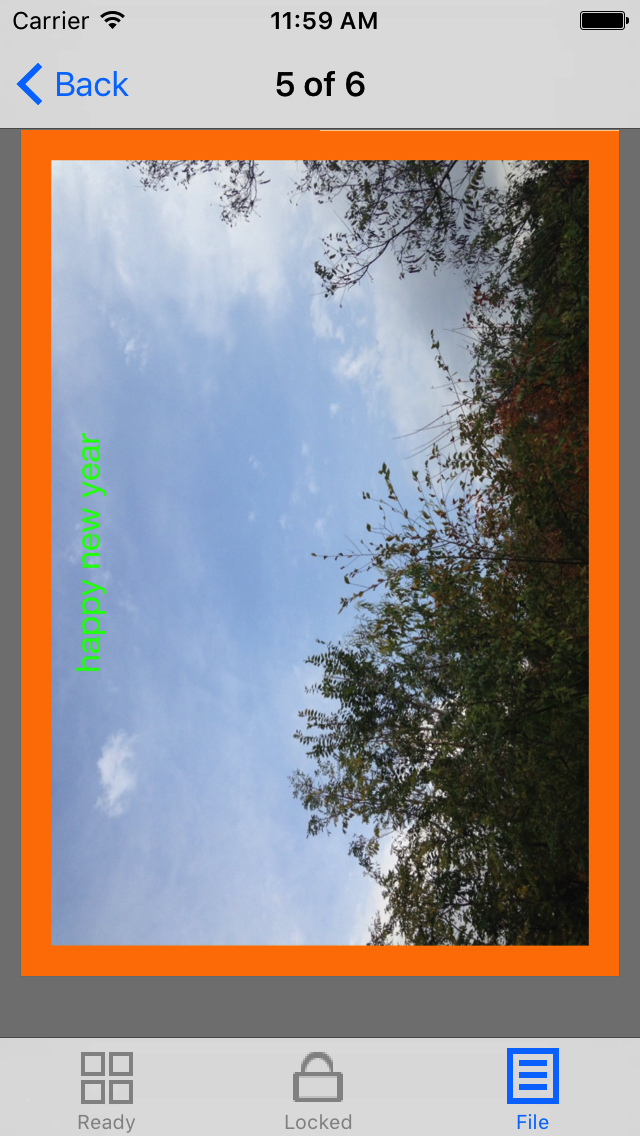
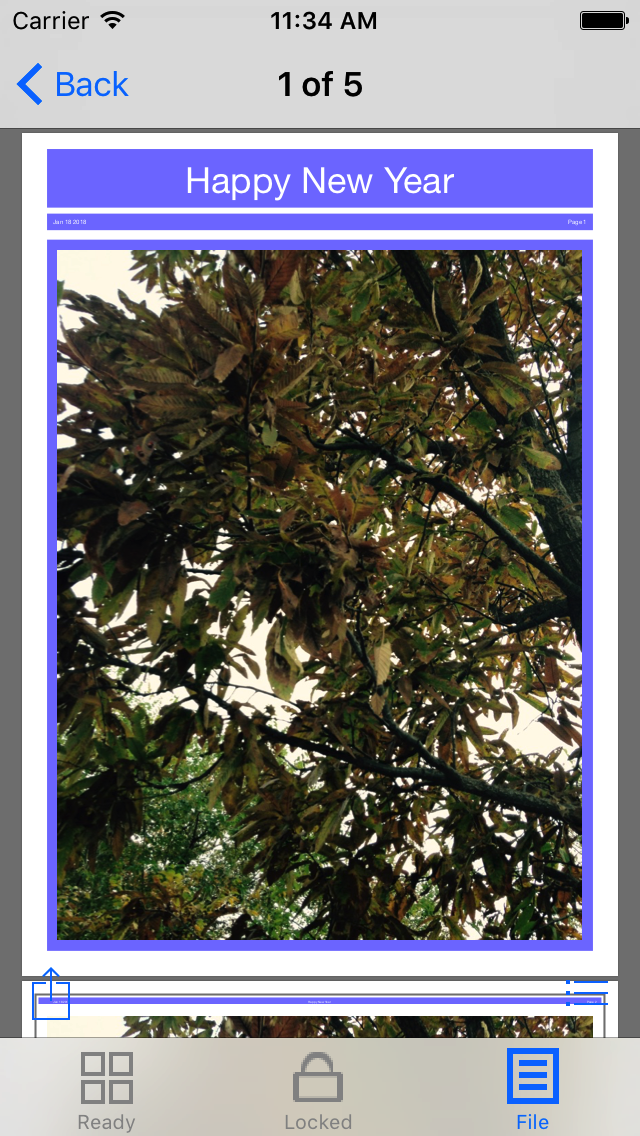
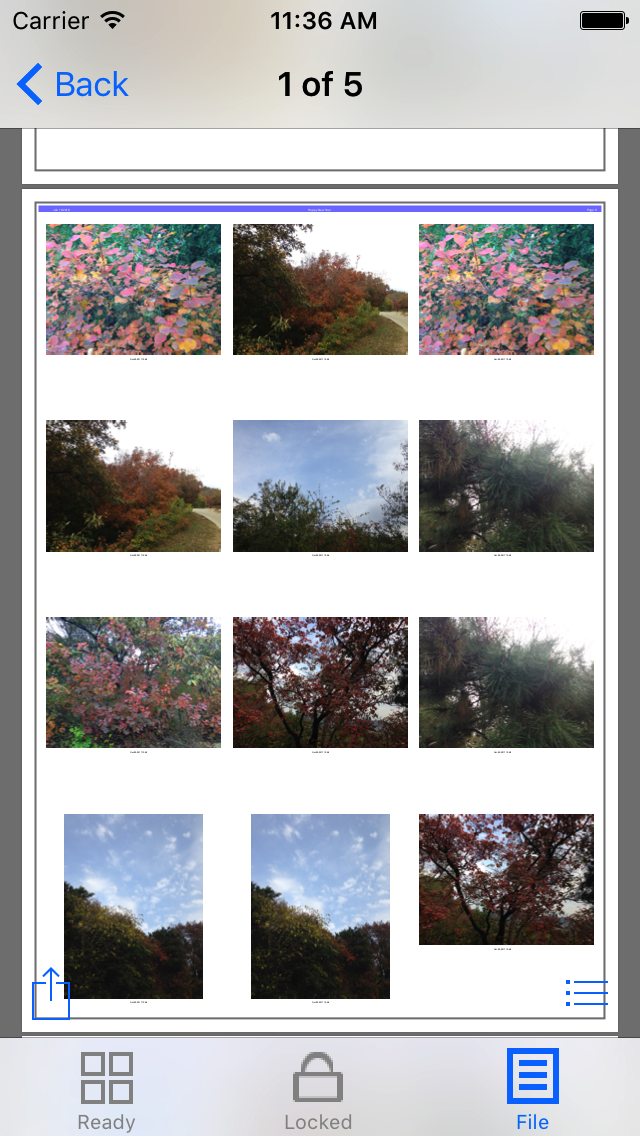
Photographic
Poster Screenshot
|

 |
| |
 |
| |
|
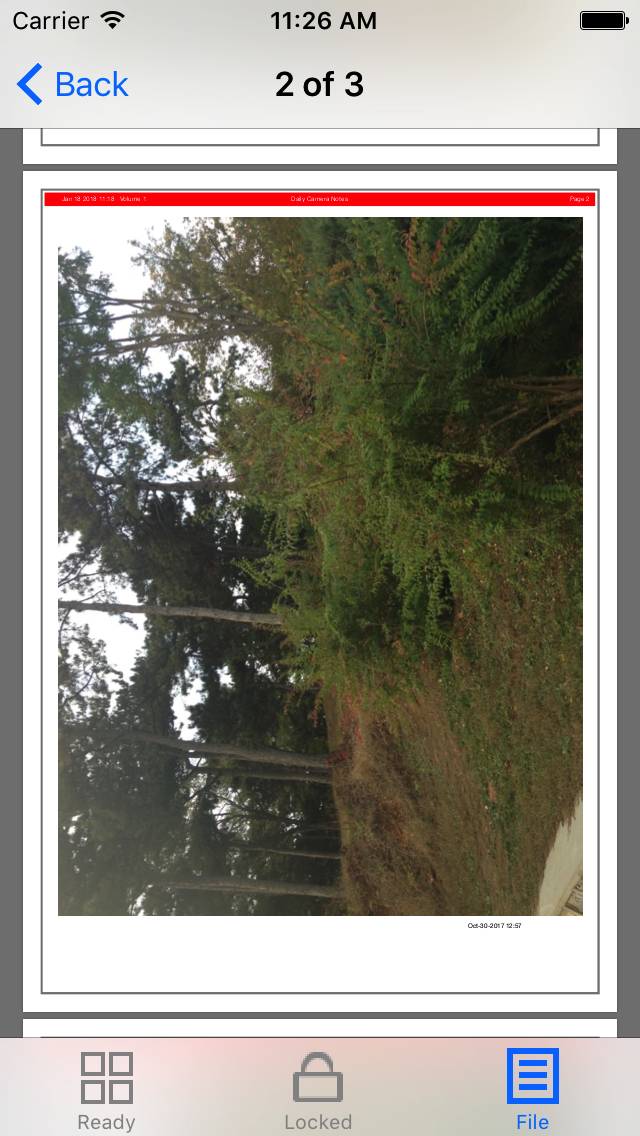
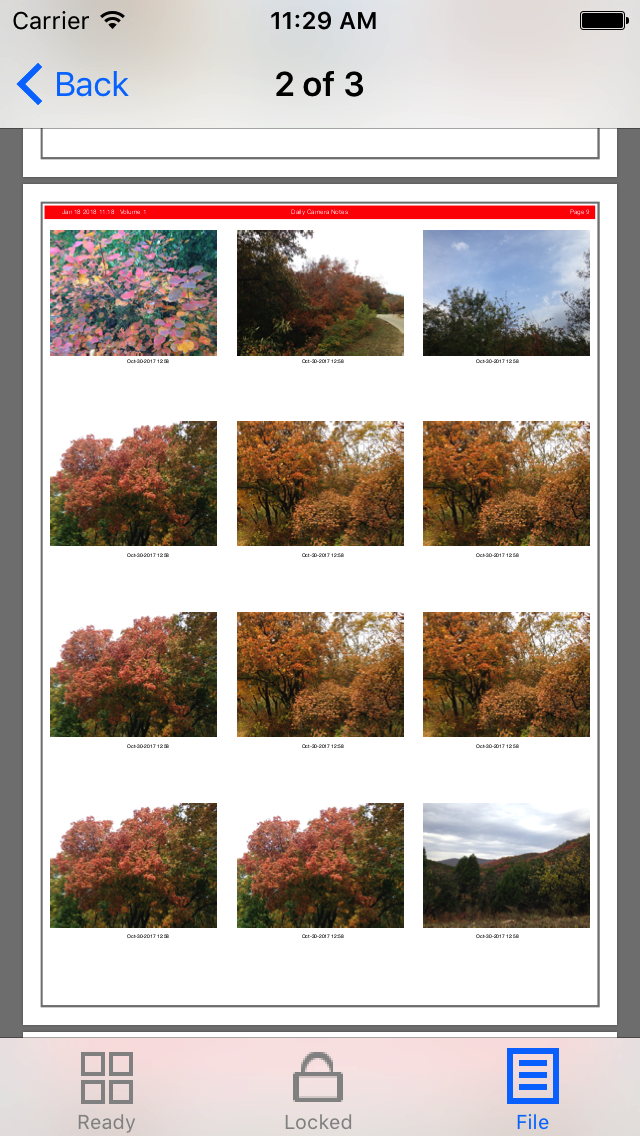
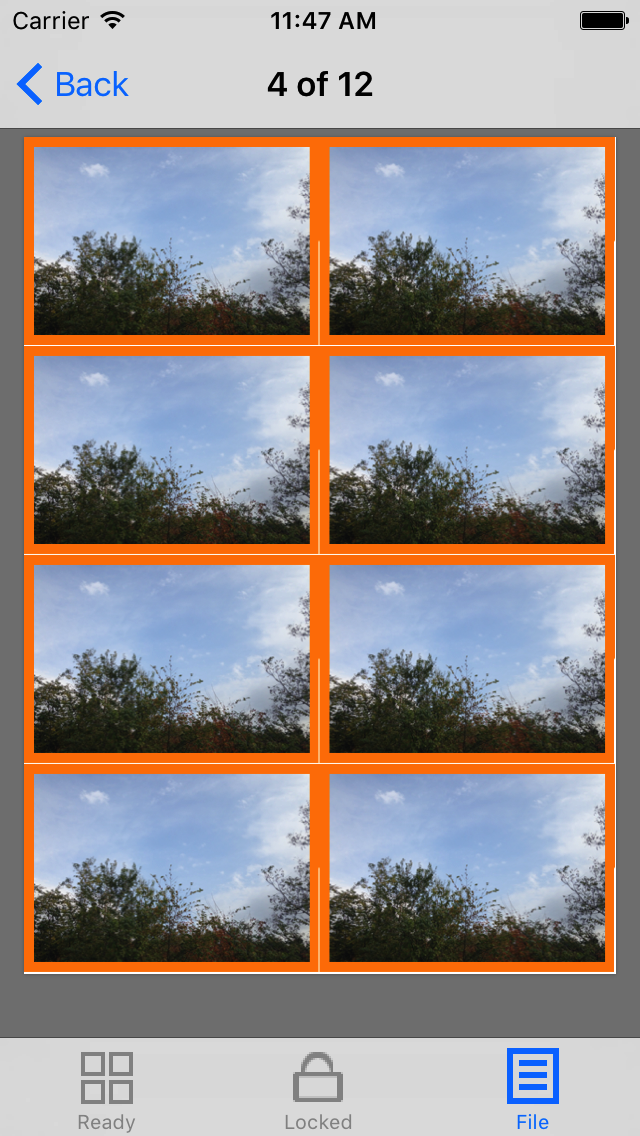
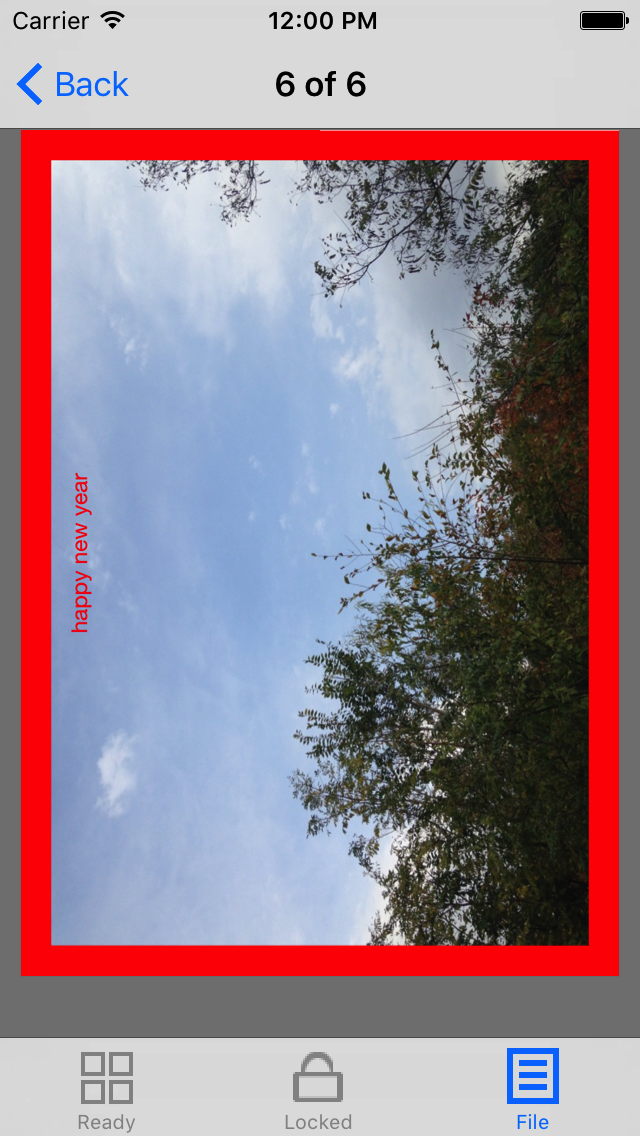
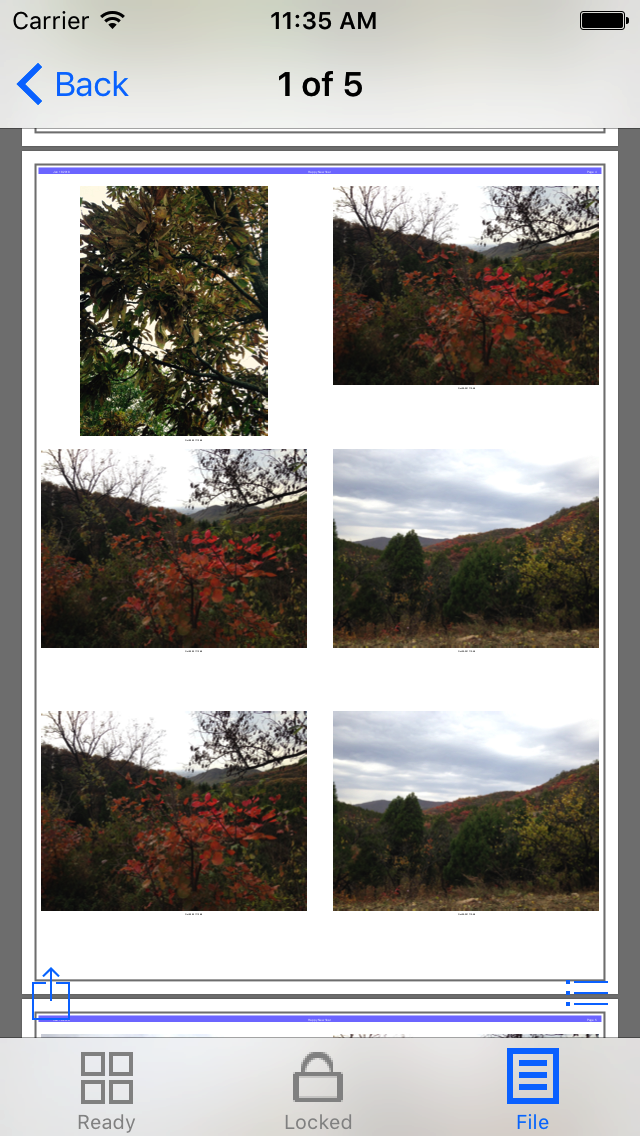
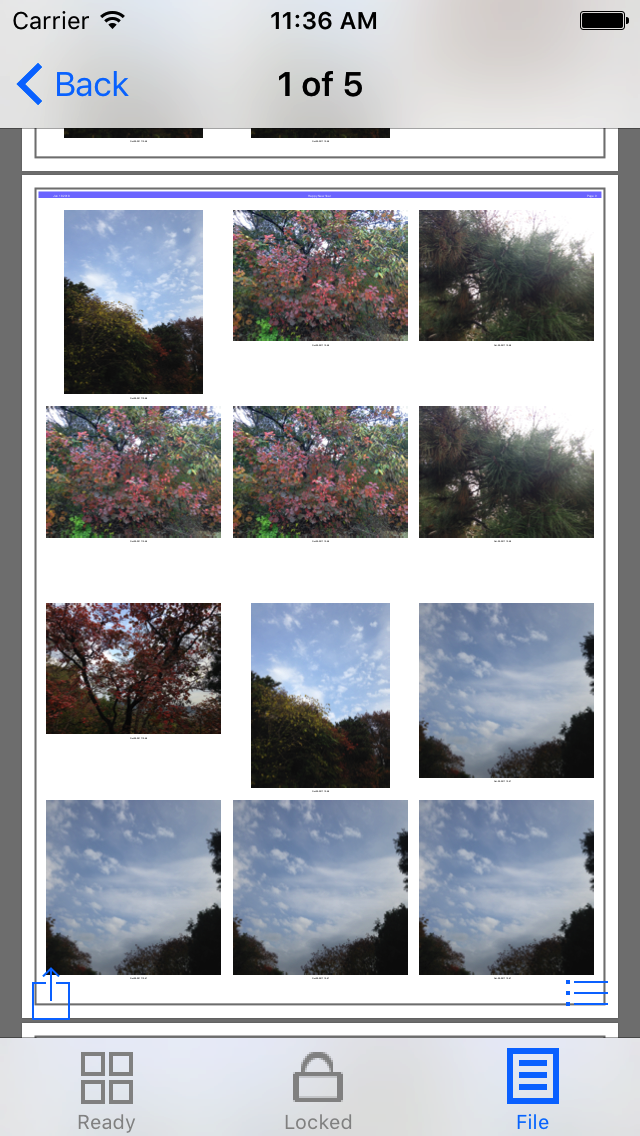
Photographic
Papers Screenshot
|
 |
| |
 |
| |
|
The main features of iOS Daily Camera Notes App
|
- Simple: Tap the
one tap button, create the photographic journal or the
photographic book.
- Powerful: Make the
five kinds of photographic PDF files: poster, card,
papers,books and journals. We could indict the page
size, page type and input the text note for photos in
the card, poster and books. The date time of the
photos could be printed below the photo in the papers,
books or journals. The date time of the photos or the
text notes could be printed in the photos for poster
and card.
- Easy to share: From the itunes, in the File Sharing View, select the
Camera Notes App, we will find the PDF file. So we
could copy the PDF file to our computer.
|
|
Usage
|
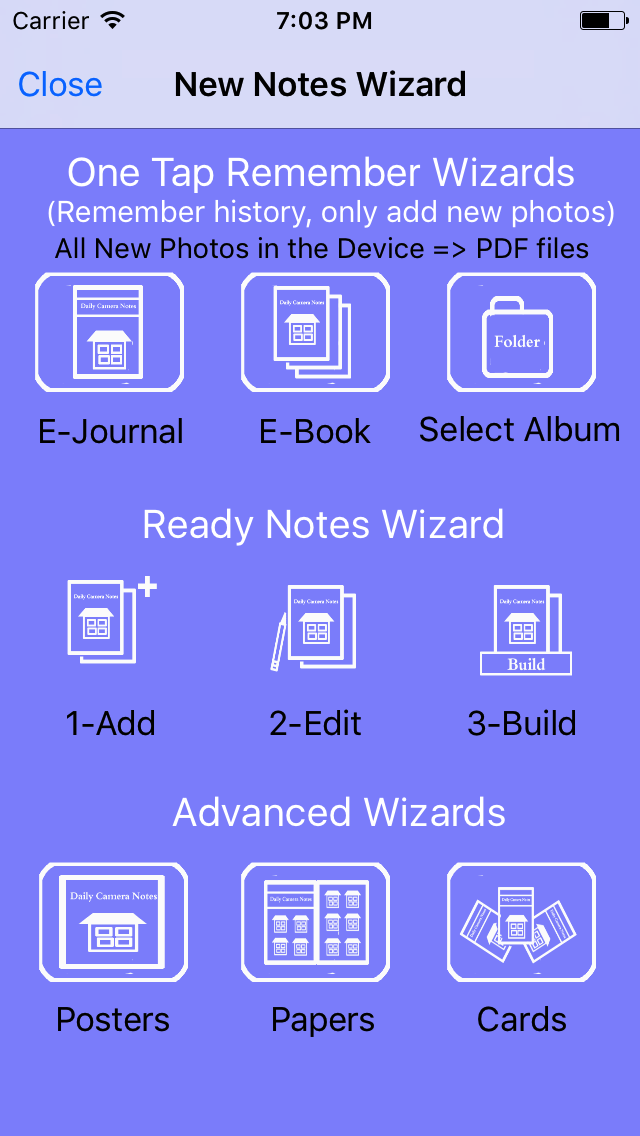
- When we launch
this App, the new notes wizard will be presented
automatically. Then , in the new notes wizard, we
could select the different wizards to create the
journal, papers, books, posters and cards. When we tap
the wizards for papers, posters and cards, the related
view will be presented, so we could select the page
size, color or input the text note. After that, just
tap the build button on the top right corner, the pdf
file will be created.
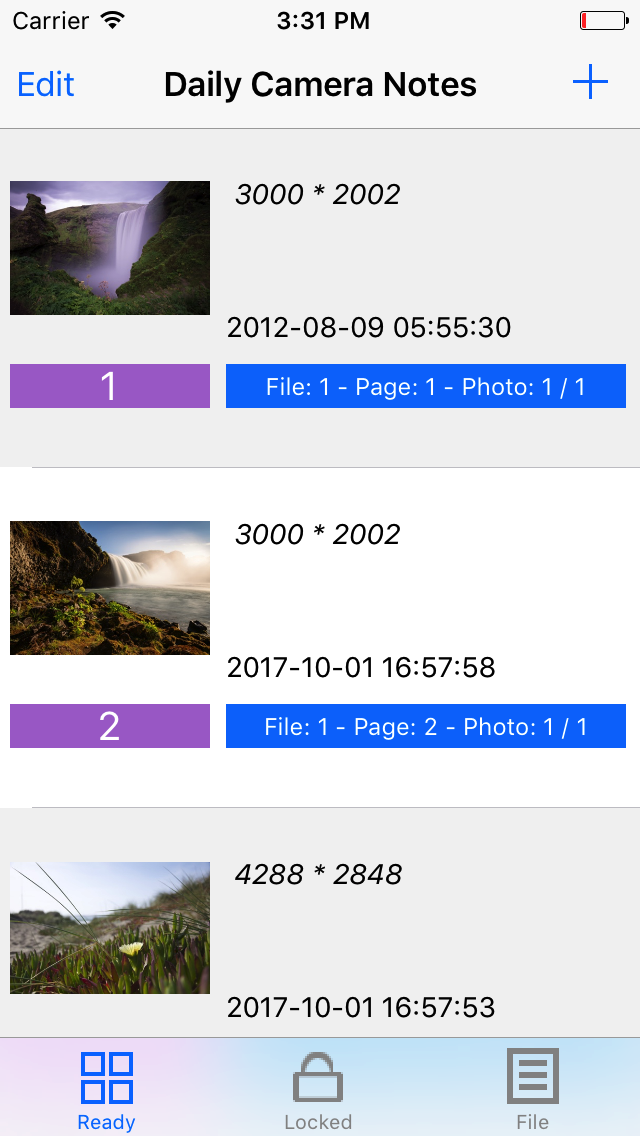
- If the new notes
wizard has been closed, in the ready tab page, tap the
add icon in the top right corner, the new notes wizard
will be presented.
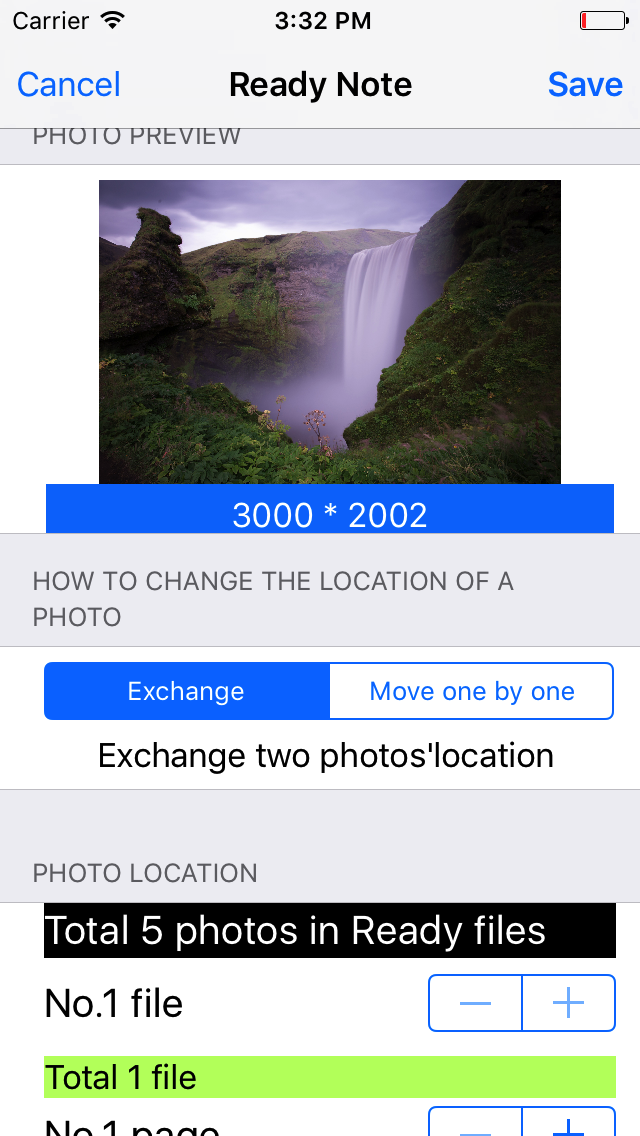
- If we need to add
the specific text notes for each photo, we need to use
the Ready Notes Wizard.
- If we want to view
the created papers,poster,card,book or journal, we
need to view the file list in the file tab page. When
the file list is presented, in the top right corner,
tap the setting icon, the setting view will be
presented.
|
|
FAQ 1: What is the differences between the
professional edition and the standard edition?
|
- Professional edition has the powerful
talking reminder which could remind us to use the App
to create the journal, book, or papers on time. Even
when the App is not launched, the notification bar
will be displayed on time. Even the devices are
locked, the notification message will be sent to the
user on the device screen. when the use tap the
notification bar, the App will be launched, the App
will automatically talk the text message. The setting
for the reminder is located at the setting view. If we
need to use this reminder, we need to set at least one
reminder event. The standard edition does not have
this feature.
|
|
FAQ 2: How to open the new notes wizard?
|
- According to the default setting, the
new notes wizard should be presented when the App is
launched.
- If we already closed the new notes
wizard, we need to open it by ourselves.
- Step 1:Tap the Ready tab page button,
the Ready list view will be displayed.
- Step 2: Tap the + button on the top
right corner.
- Step 3: Wait, the new notes wizard
will be presented automatically.
|
|
FAQ 3: How to open the setting view?
|
- Step 1: Tap the File tab page button,
the File list view will be displayed.
- Step 2: Tap the setting button on the
top right corner.
- Step 3: Wait, the setting view will
be presented.
|
|
FAQ 4: How to make the photographic journal?
|
- Step 1: Make sure the new notes
wizard is displayed.
- Step 2: Tap the e-Journal button in
the first line
- Step 3: Wait, the writing file view
will be presented. Wait, until the file list is
finally displayed.
- Step 4: Tap the file name of the
latest file, the latest Journal will be presented.
|
|
FAQ 5: How to make the photographic book?
|
- Solution One (do not
input the specific information)
- Step 1: Make sure the new notes
wizard is displayed.
- Step 2: Tap the e-Book button in the
first line.
- Step 3: Wait, the writing file view
will be presented. Wait, until the file list is
finally displayed.
- Step 4: Tap the file name of
the latest file, the latest Book will be presented.
-
- Solution Two (input
the text note for the photos)
- Step 1: Make sure the new notes
wizard is displayed.
- Step 2: Tap the 1-Add button, then
the album list will be presented, select the album,
then the photo thumbnail image collection will be
displayed, tap the select all button, or tap the photo
image one by one, at last, tap the confirm button at
the top right corner. The selected photos will be
added to the Ready list.
- Step 3: In the Ready tab page view,
tap the single cell to edit the photo information.
- Step 4: In the Ready tab page view,
tap the top right button, the new notes wizard will be
presented.
- Step 5: In the new notes wizard, tap
the build button.
- Step 6: Wait, the
writing file view will be presented. Wait, until the
file list is finally displayed.
- Step 7:Tap the
file name of the latest file, the latest Book will be
presented.
|
|
FAQ 6: How to make the photographic papers?
|
- Step 1: Make sure the new notes
wizard is displayed.
- Step 2: Tap the Paper button in the
bottom line.
- Step 3: The paper wizard view will be
presented.
- Step 4: Edit the detail information
- Step 5: Tap the build button.
- Step 6: Wait, the
writing file view will be presented. Wait, until the
file list is finally displayed.
- Step 7:Tap the
paper name, the paper will be presented.
|
|
FAQ 7:How to make the photographic poster?
|
- Step 1: Make sure the new notes
wizard is displayed.
- Step 2: Tap the Poster button in the
bottom line.
- Step 3: The poster wizard view will
be presented.
- Step 4: Edit the detail information
- Step 5: Tap the build button.
- Step 6: Wait, the writing file view
will be presented. Wait, until the file list is
finally displayed.
- Step 7:Tap the poster file, the
poster will be presented.
|
|
FAQ 8: How to make the photographic card?
|
- Step 1: Make sure the new notes
wizard is displayed.
- Step 2: Tap the Card button in the
bottom line.
- Step 3: The card wizard view will be
presented.
- Step 4: Edit the detail information
- Step 5: Tap the build button.
- Step 6: Wait, the writing file view
will be presented. Wait, until the file list is
finally displayed.
- Step 7:Tap the card file, the card
will be presented.
|
|
FAQ 9: How to add the photo name and photo
description ?
|
- Step 1: In the Ready tab page view,
tap the single cell to edit the photo information.
- Step 2: In the photo note view, input
the description text and the photo name in the
indicted field.
- Step 3: Save the note.
|
|
FAQ 10: How to change the color of the side of the
poster?
|
- Step 1: Make sure the new notes
wizard is displayed.
- Step 2: Tap the Poster button in the
bottom line.
- Step 3: The poster wizard view will
be presented.
- Step 4: Select the color by tapping
the side color segment. Please do not tap the text
color segment.
|
|
FAQ 11: How to create the poster without
the frame side?
|
- Step 1: Make sure the new notes
wizard is displayed.
- Step 2: Tap the Poster button in the
bottom line.
- Step 3: The poster wizard view will
be presented.
- Step 4: Tap the NO segment item by
tapping the side segment.
|
|
FAQ 12: How to set the paper size, paper type for
the book?
|
- Step 1: Tap the file tab page button,
ensure the file list view is displayed.
- Step 2: Tap the setting button at the
top right corner.
- Step 3: Select the segment item for
the e-Book paper type and e-Book paper size
|
|
FAQ 13: How to print the card on the B5 type
paper?
|
- Step 1: Make sure the new notes
wizard is displayed.
- Step 2: Tap the Card button in the
bottom line.
- Step 3: The card wizard view will be
presented.
- Step 4: Select the paper type by
B7,B8 or B9.
|
|
FAQ 14: How to make the text note for the card?
|
- Step 1: Make sure the new notes
wizard is displayed.
- Step 2: Tap the Card button in the
bottom line.
- Step 3: The card wizard view will be
presented.
- Step 4: In the text field, input the
text note,the text should be as much short as
possible.
- Step 5: Select the font size.
|
|
FAQ 15: How to make the text note for the poster?
|
- Step 1: Make sure the new notes
wizard is displayed.
- Step 2: Tap the Poster button in the
bottom line.
- Step 3: The poster wizard view will
be presented.
- Step 4: In the text field, input the
text note.
|
|
Contact
Information
|
- Contact: Click the following link,
open the contact form and fill the message.
- Before filling the contact form, you
need to prepare the following items:
- Item 1: Your Name in English
- Item 2: Your Email Address
- Item 3: Subject in English
- Item 4: Contact Message in English
-
- Open
the Contact Form
|
|
|
|
|
|
|
|
|
|
|
|